Monday, November 21, 2011

Ingram {Baby Shower}


This past weekend I threw a baby shower for a friend who is  having a little boy in February.  Here are some pictures of the set up and what no! 

 We had an advice tree for people to share their wisdom about raising a baby.


 The standard guessing how many M&M's in a jar game.
 The prizes for the games. I didn't get real fancy with the wrapping. I cut open some paper bags and used those to wrap them.
 My ruffle-tastic cake complete with a banner and fondant toppers that I ordered from Edible Details. She makes fantastic stuff! I am super impressed with her work!
 Cupcakes with toppers on my newly painted blue cupcake stands.
 My sugar cookie frogs and puppies since the theme was kind of based on the quote, "What are little boys made of? Frogs and snails and puppy dog tails."  In retrospect I should have waited longer to ice the cookies because the oil from the cookies seeped through and discolored the icing a little bit.  But over all they looked good in my oh-so-humble opinion.

 These pictures are out of order, this is a long shot of the cake. Please ignore the fact that I did not cut the extra string from the banner.
 Long shot of whole food/drink table so you can see my cute little banner that I ended up giving to the mommy to be because I only have so much room in my tiny little apartment to keep party decorations.
To keep the lemonade and water cold I used some ideas I got from Pinterest. I sliced up some lemons and froze them in water in my cupcake tins for the lemonade punch bowl. And then just to give the water pitchers some color I froze slices of lime and blueberries in regular ice cube trays.  For future reference, blueberries explode when frozen. I had to break off quite a few of the exploded blueberries from the top of the ice cubes so they didn't look ugly. 


Alrighty that's it for now! Thanksgiving is coming up this week, look for tutorials on my first pie making attempt and the recipe for my hubby's amazing cherry cobbler! Have a great week!


Tuesday, November 1, 2011

Halloween Party!!!

After many moons of planning, coordinating, crafting and glue gun burns the Halloween party was this past Saturday and it was fantastic!  Here a few pictures of the party!

 Centerpieces for the tables.
 Dessert Table
 Drinks table
 Food table, not all the food had been placed yet but you get the general table.
 Photo booth
 Picture banner
 Cheesecloth ghosts

 All the glassware on the food table came from Goodwill and I just put candycorn and candles in them, then spiderwebs and plastic spiders. Easy and cute decorations for super cheap!

 Inflatable drink/buffet table with water bottles that have custom made labels that I made.
 Cookie pops with royal icing!
 Rice krispy treats, dyed orange (can't really tell in that picture) shaped like pumpkins with tootsie roll stumps.


Giant spider that I hung from the ceiling! Got it from Oriental Trading. 

Ok, that is my last Halloween post for the year and I'm kinda sad about it since I loved planning this party and making all the crafty stuff for it. Onto Thanksgiving and then Christmas! Stay tuned for new crafts!

Sunday, October 16, 2011

Paparazzi Jewelry Party

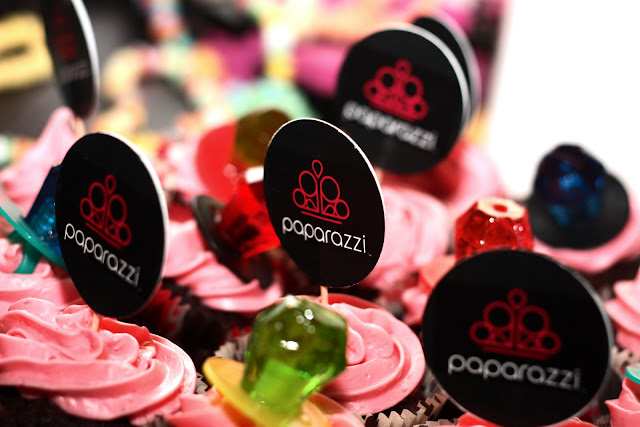
Here are a few pictures of the party and our food table set up!


If anyone is interested there will be another party on November 5th! Contact me for details!

Saturday, October 8, 2011

Banner Part 2

This is really just a better picture of the banner plus some new cupcake stands.


Scrappy Party Banner!

I'm planning a jewelry party and the colors are black and pink.  I found this sweet banner on Pintrest and wanted to copy it but in black and pink.  So here is a tutorial on how to make it!

1.) Gather all your stuff. I used went to JoAnn's for fabric and they had 'fat quarters' on sale for .99 so I got like 10 of them. I also decided to add in some ribbon, naturally they too are black and pink. Lastly you need some yarn; I got black yarn so it would match.

 2.) Because I'm cool like that Because I'm super impatient, instead of cutting each fat quarter in half, I just made a snip and ripped them in half.  This keeps the rip straight since it rips along the grain of the fabric. So I ripped all the fat quarters in half. Some of them weren't quite equal but that's ok for this project.
 3.) After ripping them in half, I made a bunch of 1 inch wide strips.
 4.) Repeat process with all the fabric until you have a mass of 1 inch wide strips that look like this!
 5.) Then I cut my spools of ribbon up into strips about the same length as the strips of fabric.
 6.) Measure out your yarn for the length that you need; remember to leave enough yarn at either end for you to tie the banner off if needed. Then start laying out your strips like this:
 7.) Then add a blob of hot glue. Or if you want to be really legit, you could sew it.
 8.) Repeat this process until you run out of strips. You don't necessarily have to have a pattern I'm just a little OCD so I like to have a pattern. I did two rows, adding more strips on top of the first row to give the banner more volume.
 9.)  Then do the same for the ribbon if you want it.
 10.)  End result, a pretty banner! This isn't the best picture since a certain little girl kept messing up the strips so they didn't lay flat.
This banner is going in front of the food table at my jewelry party and I'm so excited!  Also if you would like to order any of the jewelry you can visit this LINK to browse through the inventory. It's all $5 or under and super cute!!